iPhone camera sensors have been improving with every new release, making them more capable even in dim lighting. Apple has also made improvements on Smart HDR for better results.
When the iPhone senses that the environment is dim it will automatically switch on Night mode and displays an icon of white that changes to yellow when turned on. It takes several images in an interval of time so that you can get a clean picture.
How to use Night Mode
Like other cameras iPhone Night Mode is an automatic mode that comes on when the camera detects dim lighting. The Night Mode icon (moon) in your display when you launch Camera and your iPhone is able to determine if the light is not sufficient to enable the function.
If you plan to shoot an image using Night Mode, be sure to stay still and use a tripod if possible. If you’re shaking hands your hands, your photo will be blurry. Furthermore, your object must remain still and still, which could include an object or building. This isn’t a good idea for photos of children, pets or vehicles moving.
In accordance with the surroundings, Your iPhone could provide a variety of choices for exposure times, ranging that range from one second to thirty minutes. After the exposure has ended the iPhone analyses each image and then blends the most sharp ones in order to create the final picture. To ensure the best quality results, you should keep the camera in the most steady position you can and set the crosshairs in the right direction to limit movement between frames.
Capturing pictures in low lighting
For photographers, the most crucial component of a camera is the lens. Although dedicated cameras have a variety of different lenses and lenses, the iPhone features its own inbuilt camera rig that’s getting better and better every year.
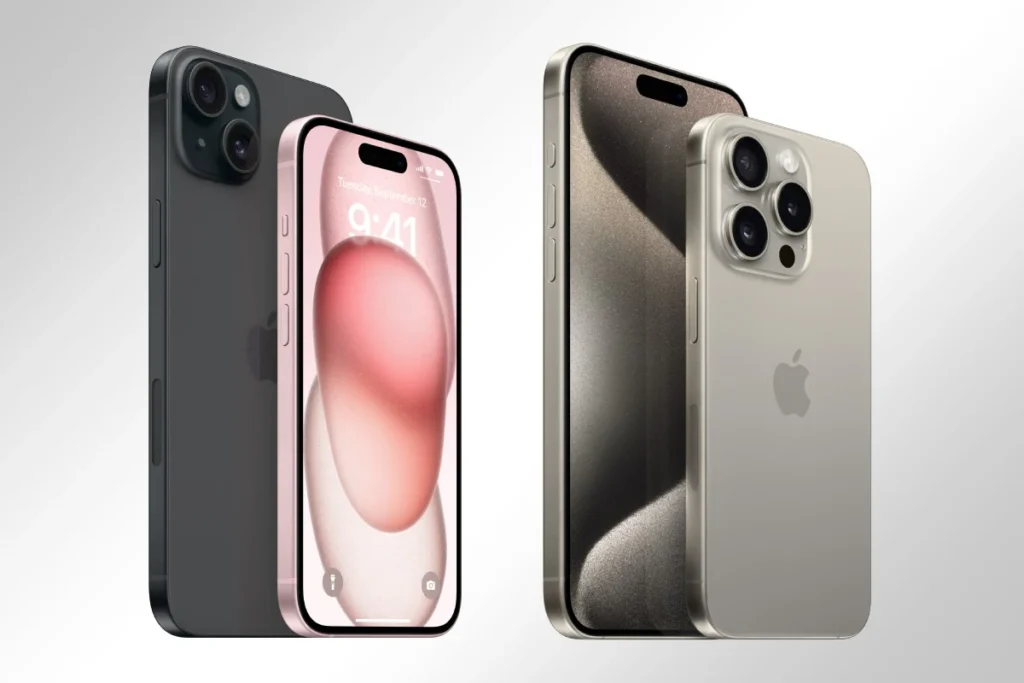
Apple’s new iPhone Pro and Max models do not disappoint. These phones sport a 48-megapixel camera with a main lens that allows you to capture macro images and wide-angle pictures. The dien thoai iPhone 15 Pro Max also supports a 120mm zoom lens that can provide up to 5x optical zoom.
Night mode automatically turns on in the event that your phone senses dim lighting and it turns red in the Camera app. The shutter can be adjusted to a duration according to how much movement is happening in the scene. Also, you can utilize Night Mode with a tripod to shoot longer exposure stills.
The longer the shutter stays open and the longer it stays open, the more light your camera is able to gather in order to take your image. Keep your camera in a completely still position during this stage, so consider keeping it in your hands or prop it up on the tripod in order to reduce motion blur.
Night Mode Tips and techniques
If you’re shooting photos at night or during dim situations, Night Mode can help to produce stunning results with needing a flash. The Night Mode mode lets your iPhone to capture multiple frames during a long time, allowing the camera to capture more light, and create more appealing pictures.
If Night mode is turned on when Night mode is enabled, a moon-colored yellow symbol is displayed at the top of the Camera app. It’s possible to manually touch the icon if you wish to switch it off, or if your photo appears too bright. If the picture is taken, a number appears on the Moon icon which shows how long it took to capture the image. It is called the exposure time, and you should keep your device as level as you can so that there is no blur.
The A13 chip of the iPhone examines every frame, aligns with respect to movement, discards those with blurred images, and then blends the sharpest images to create a high-quality image. The result is crisp photographs that are free of grain and boast stunning colors and incredible quality.
Enhancing photography with low light
With just a few minutes of effort, you’ll be able create stunning images even under dim lighting conditions. Night Mode uses an impressive combination of technology, software, and computational photography magic to transform your photographs appear more vivid and realistic.
For best results, use an tripod. Since Night Mode captures a series of images similar to an extended exposure, using a tripod ensures that there will be minimal moving between photos. This can help eliminate blurring and result in clearer images.
A tripod may also help to take a picture of a sunset, or even a silhouette. Such photos need the use of a lengthy exposure in order for the camera to catch the lighting and shadows. A tripod can help in preventing any shake when you’re taking a long exposure that could result in blurry images. If you can’t use a tripod, try to keep your camera as stationary as possible during the timer is running down.